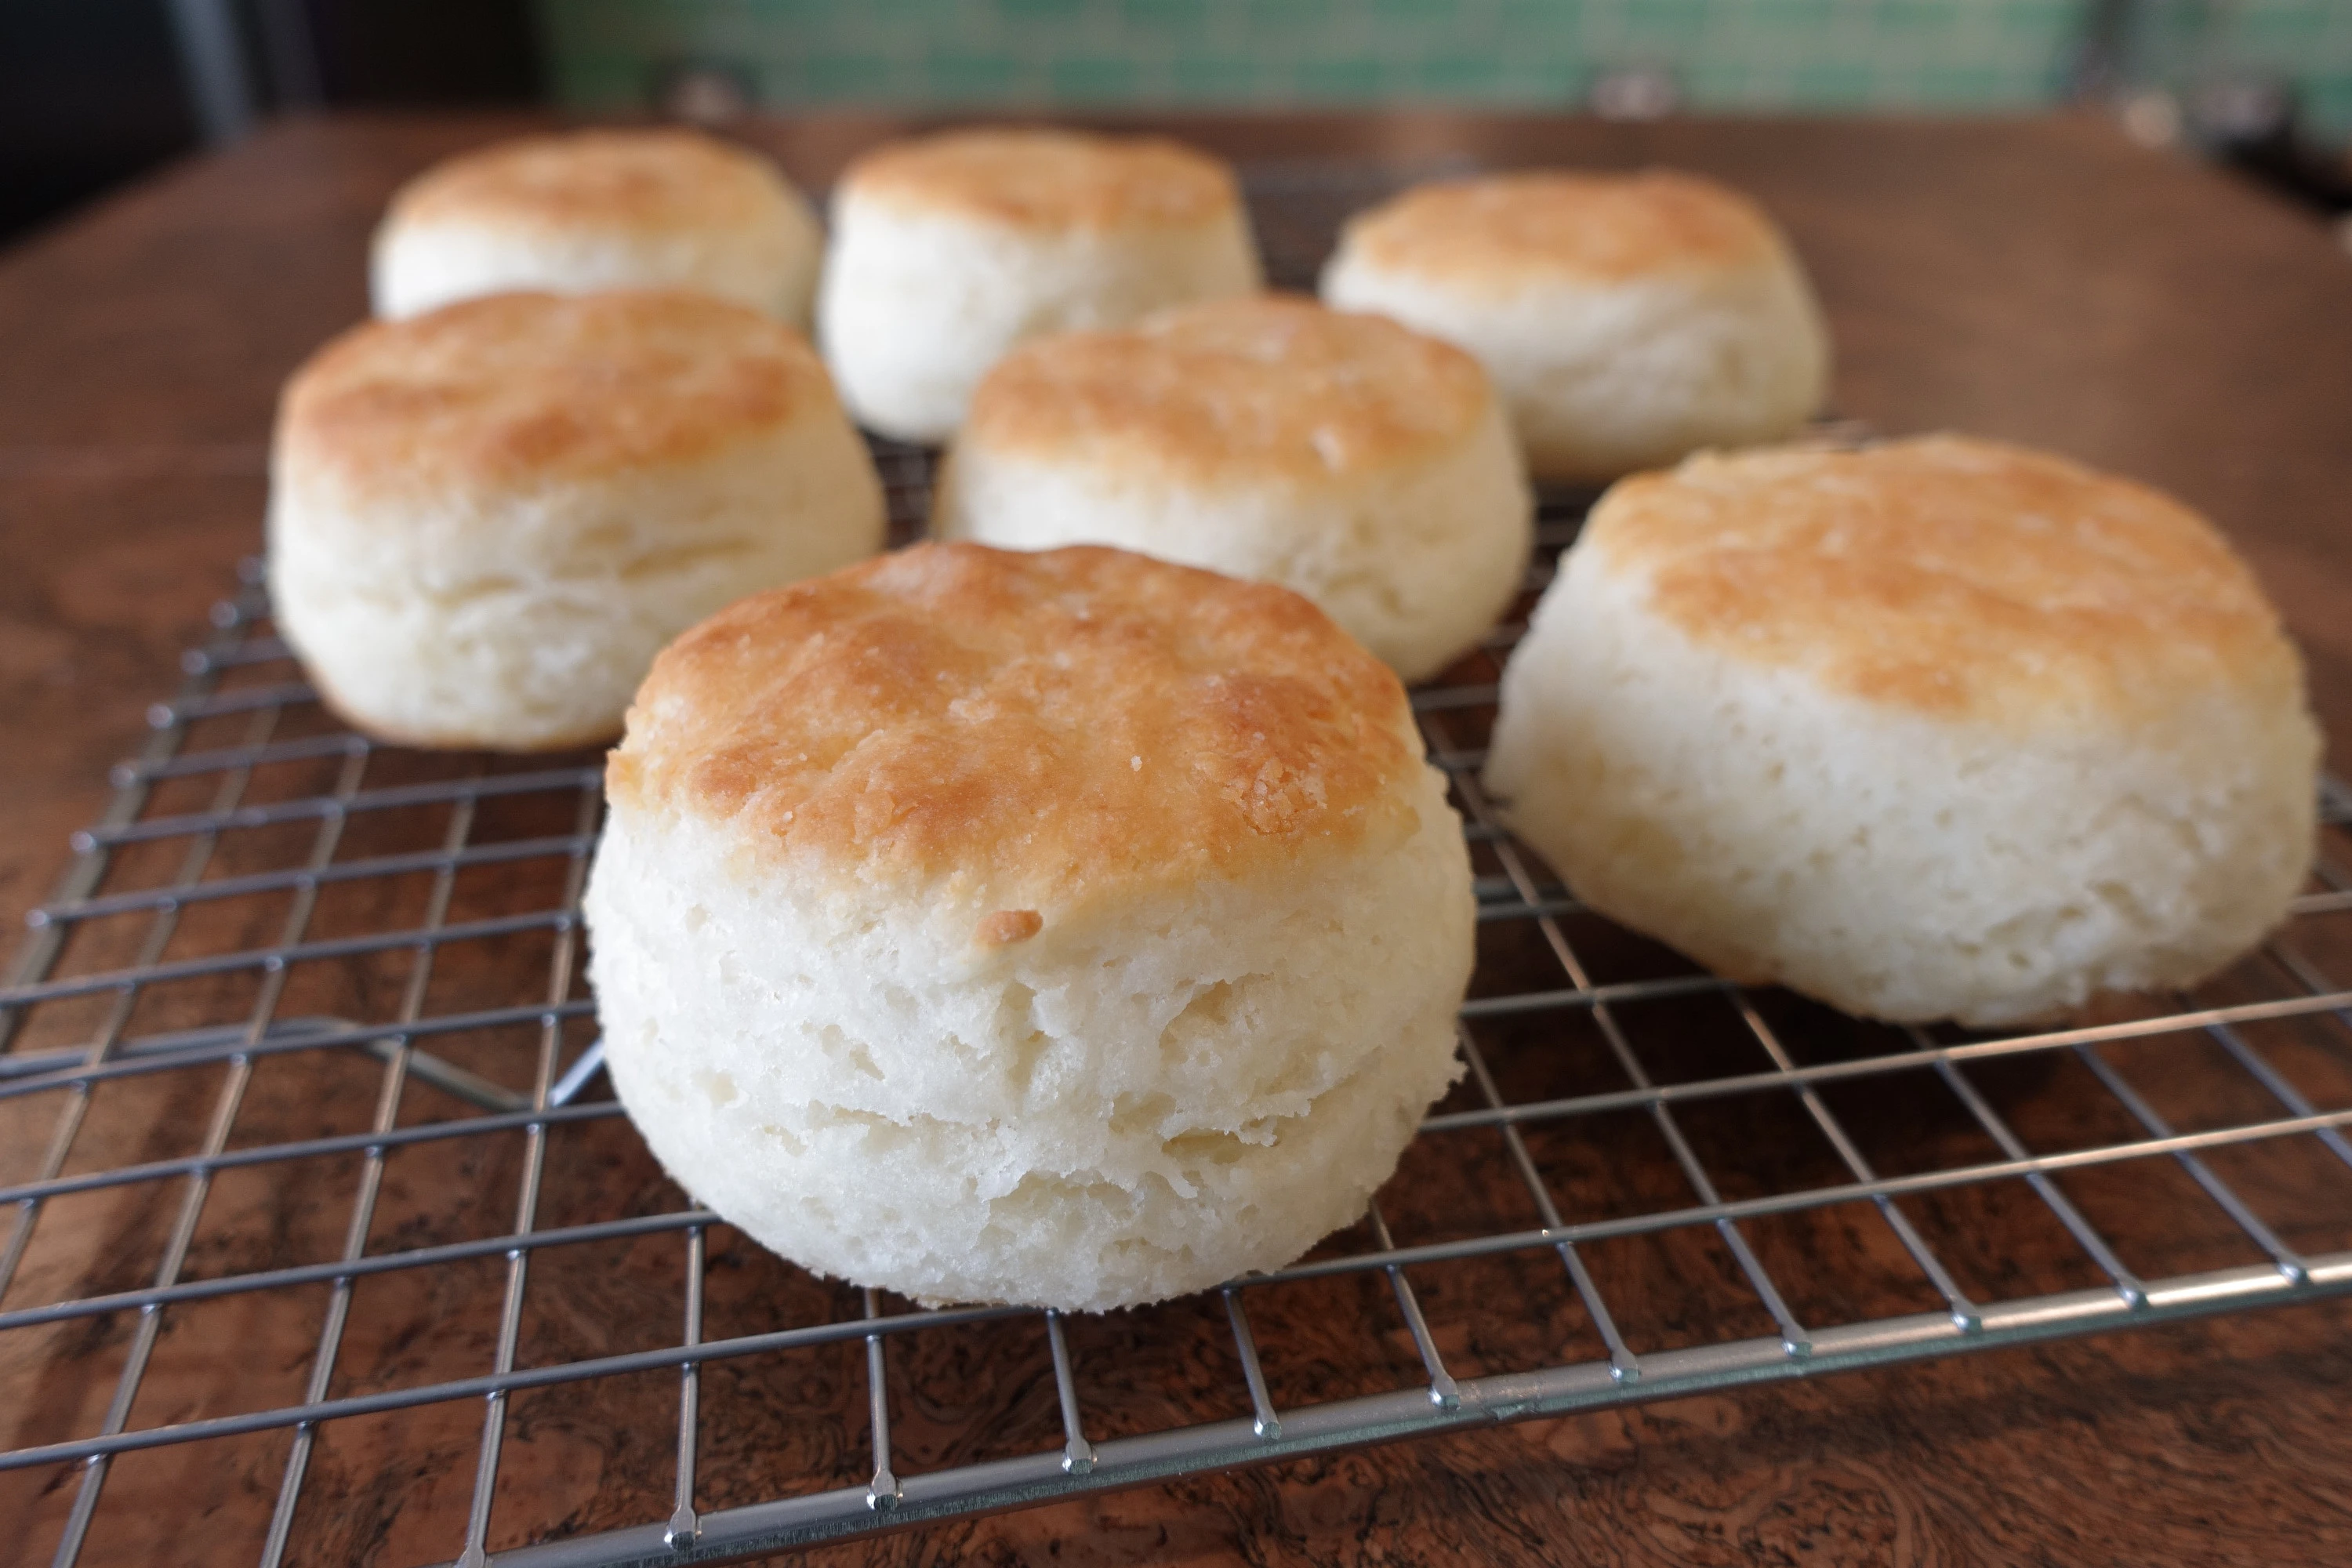

Dairy Free Biscuits
Development Notes
This makes a good biscuit. However it is still in development because more testing is needed to make it as great as it can be. Check the community topic for this recipe for the latest information and to help us further test and develop this recipe! This recipe includes some media (images/video) from the original recipe where I felt it would be helpful
Biscuit Mix
80g potato starch ( ~ 1/2 Cup )
80g superfine white rice flour ( ~ 1/2 Cup )
80g white rice flour ( ~ 1/2 Cup )
30g tapioca starch ( ~ 1/4 Cup )
16g pea protein concentrate ( ~ 2 Tbsp )
1 Tbsp double acting baking powder ( 14g )
1/2 tsp baking soda ( 2.5g )
2 tsp Diamond Crystal kosher salt ( 1 tsp table salt, 6g )
1 tsp sugar ( 4g )
Fats / "Buttermilk"
6 Tbsp cold shortening, cut into pats ( 72g )
3 Tbsp cold butter alternative, cut into pats ( 42g )
1/3 Cup dairy free plain yogurt or sour cream ( 80g )
2/3 Cup dairy free milk alternative or water ( 160g )
1 Tbsp melted butter alternative for brushing tops of biscuits (optional)
Step One
Prep the oven and mix
80g potato starch ( ~ 1/2 Cup )
80g superfine white rice flour ( ~ 1/2 Cup )
80g white rice flour ( ~ 1/2 Cup )
30g tapioca starch ( ~ 1/4 Cup )
16g pea protein concentrate ( ~ 2 Tbsp )
1 Tbsp double acting baking powder ( 14g )
1/2 tsp baking soda ( 2.5g )
2 tsp Diamond Crystal kosher salt ( 1 tsp table salt, 6g )
1 tsp sugar ( 4g )
Preheat the oven to 450 degrees (230c).
Place a piece of parchment paper on a baking sheet.
Whisk to combine all biscuit mix ingredients in a medium bowl. You want to make sure everything is evenly mixed together. In particular you want the xanthan gum evenly distributed.
Step Two
Work in the fats
72g cold shortening, cut into pats
42g cold butter alternative, cut into pats
Note - the “watch video” step linked above is from the original/buttermilk recipe, but I left it here because it is still helpful to see the process.
Add cold shortening and cold butter alternative to the bowl.
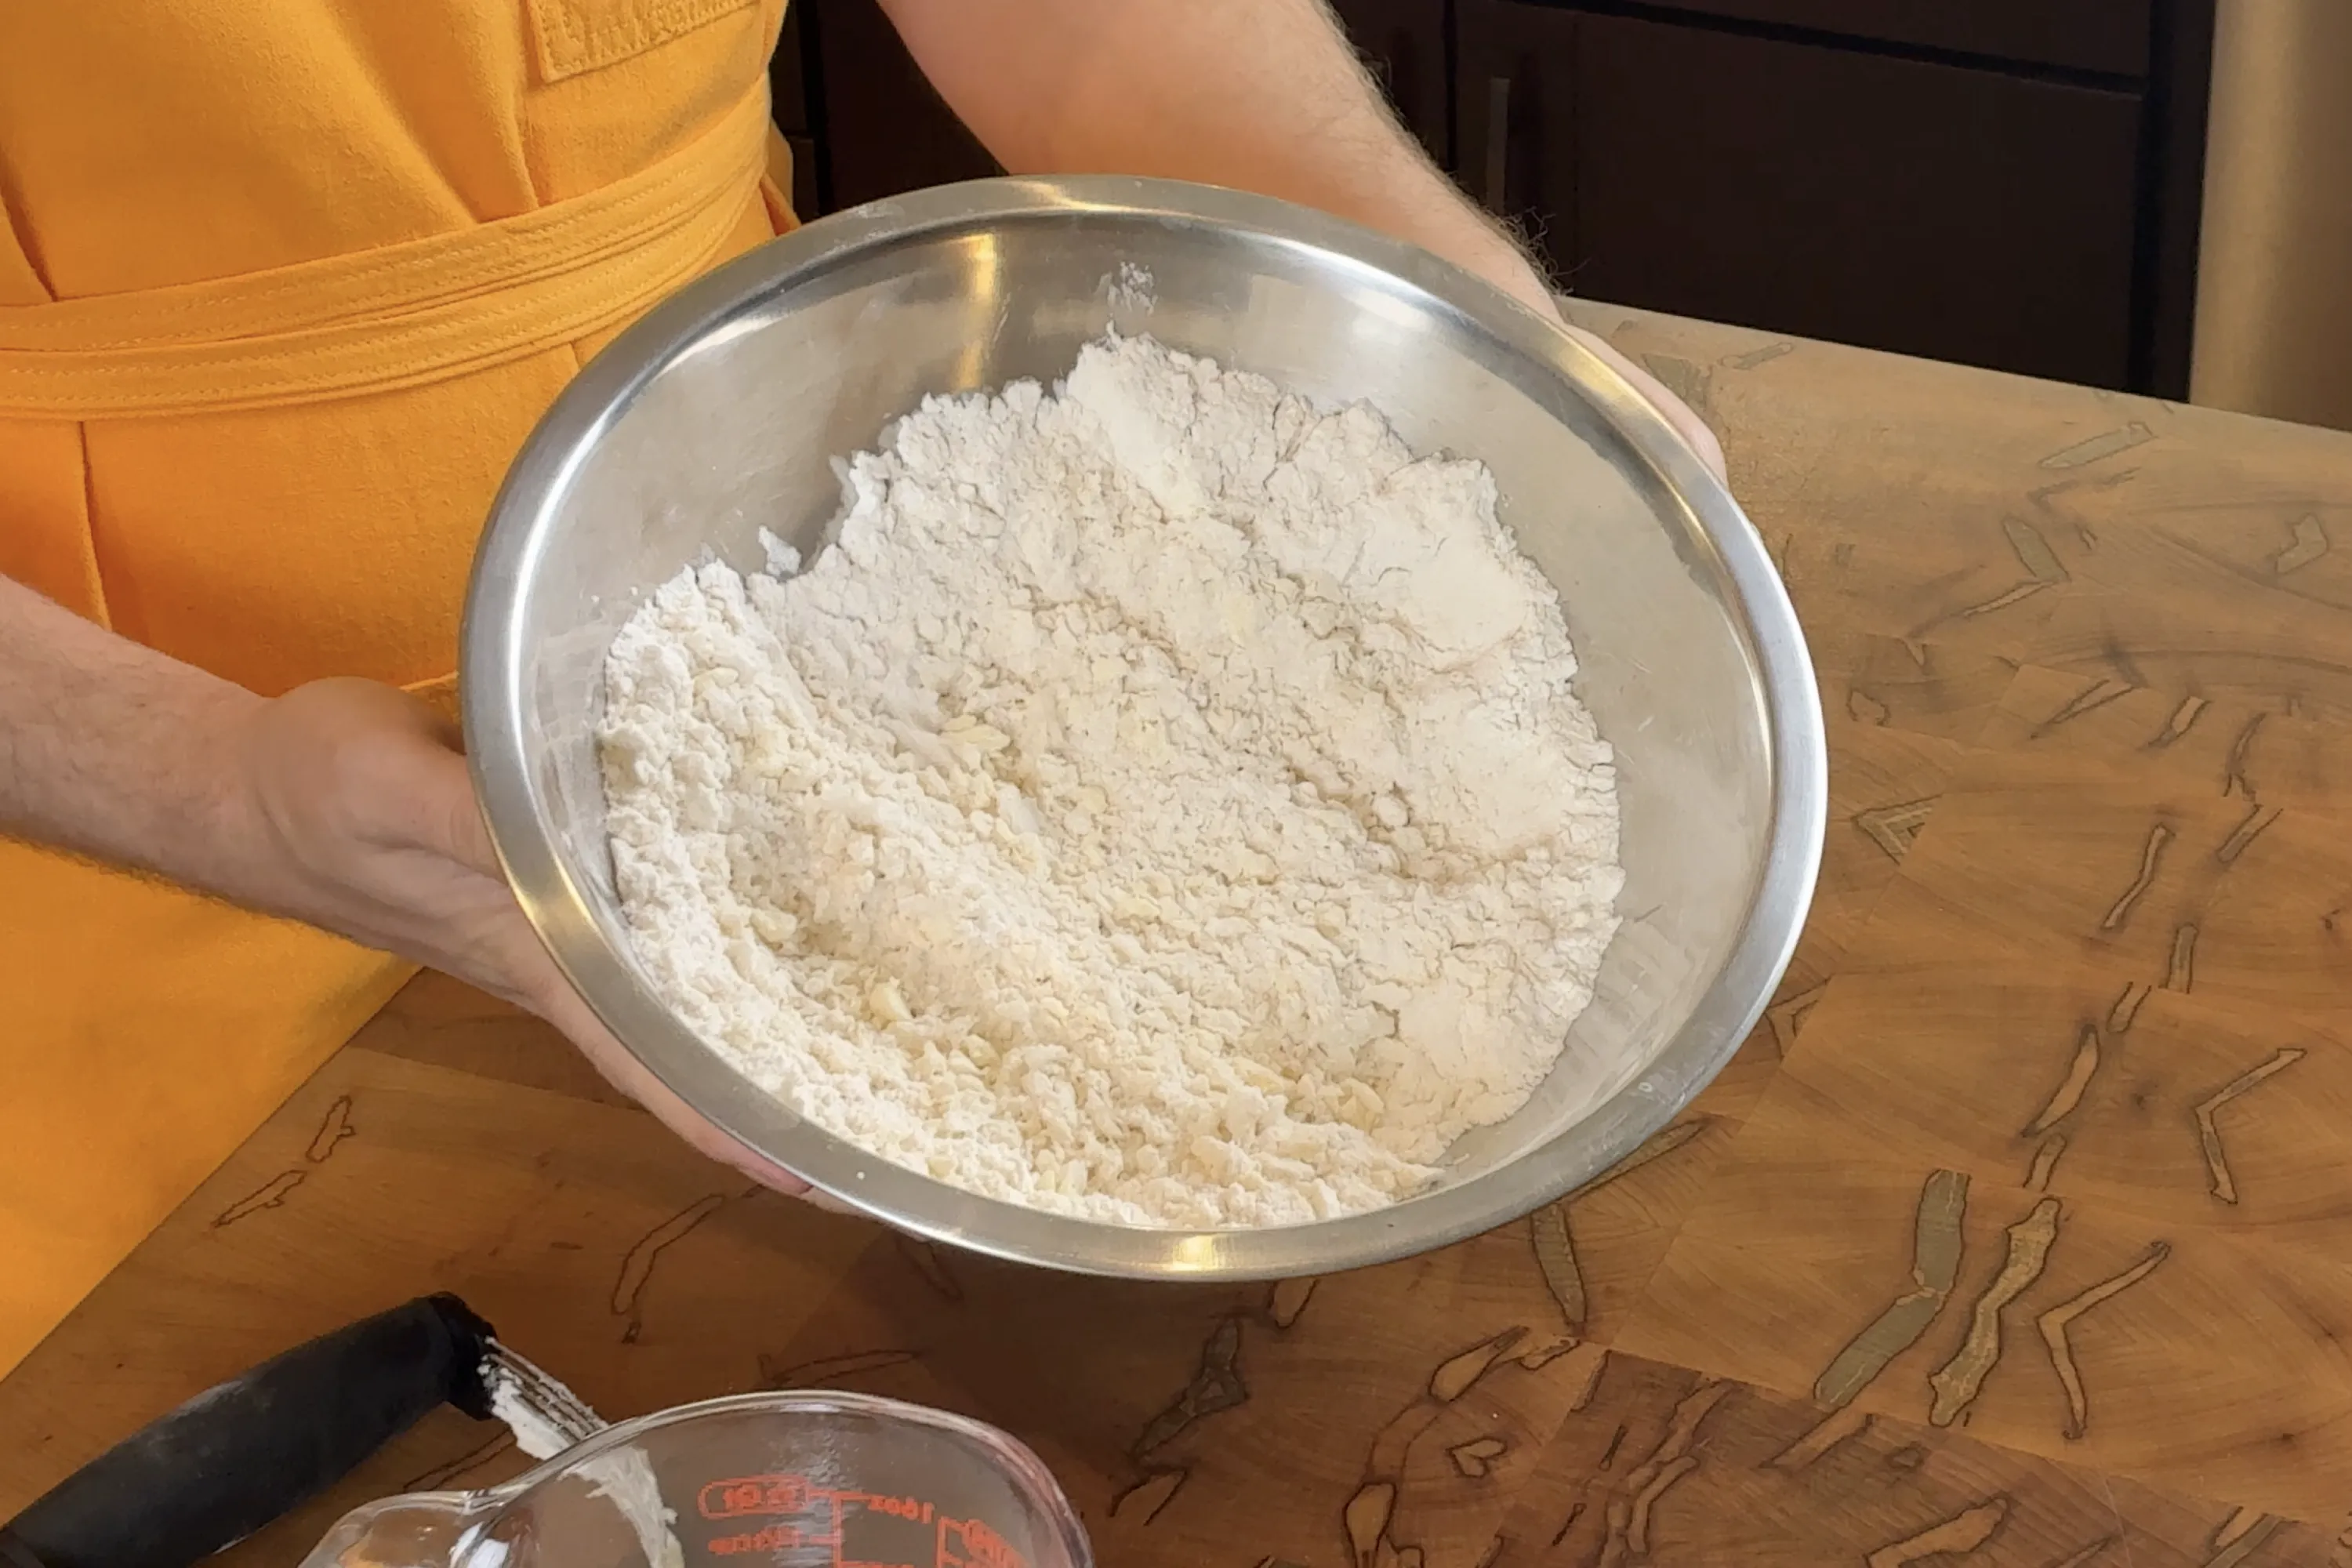
Use a pastry cutter (or your fingers) to work the fat into the dry mix. Stop occasionally to scrape any fat stuck to your pastry cutter back into the bowl. Continue until no large pieces of fat remain, the largest pieces should be roughly pea sized.
Step Three
Bring a shaggy dough together
80g dairy free plain yogurt or sour cream
160g dairy free milk alternative or water
Note - the “watch video” step linked above is from the original/buttermilk recipe, but I left it here because it is still helpful to see the process.
Whisk the yogurt/sour cream and milk alternative/water together until smooth. We are trying to create a dairy free mixture with a similar thickness and lactic tang as buttermilk. Treat these measurements as a starting point and adjust as needed.
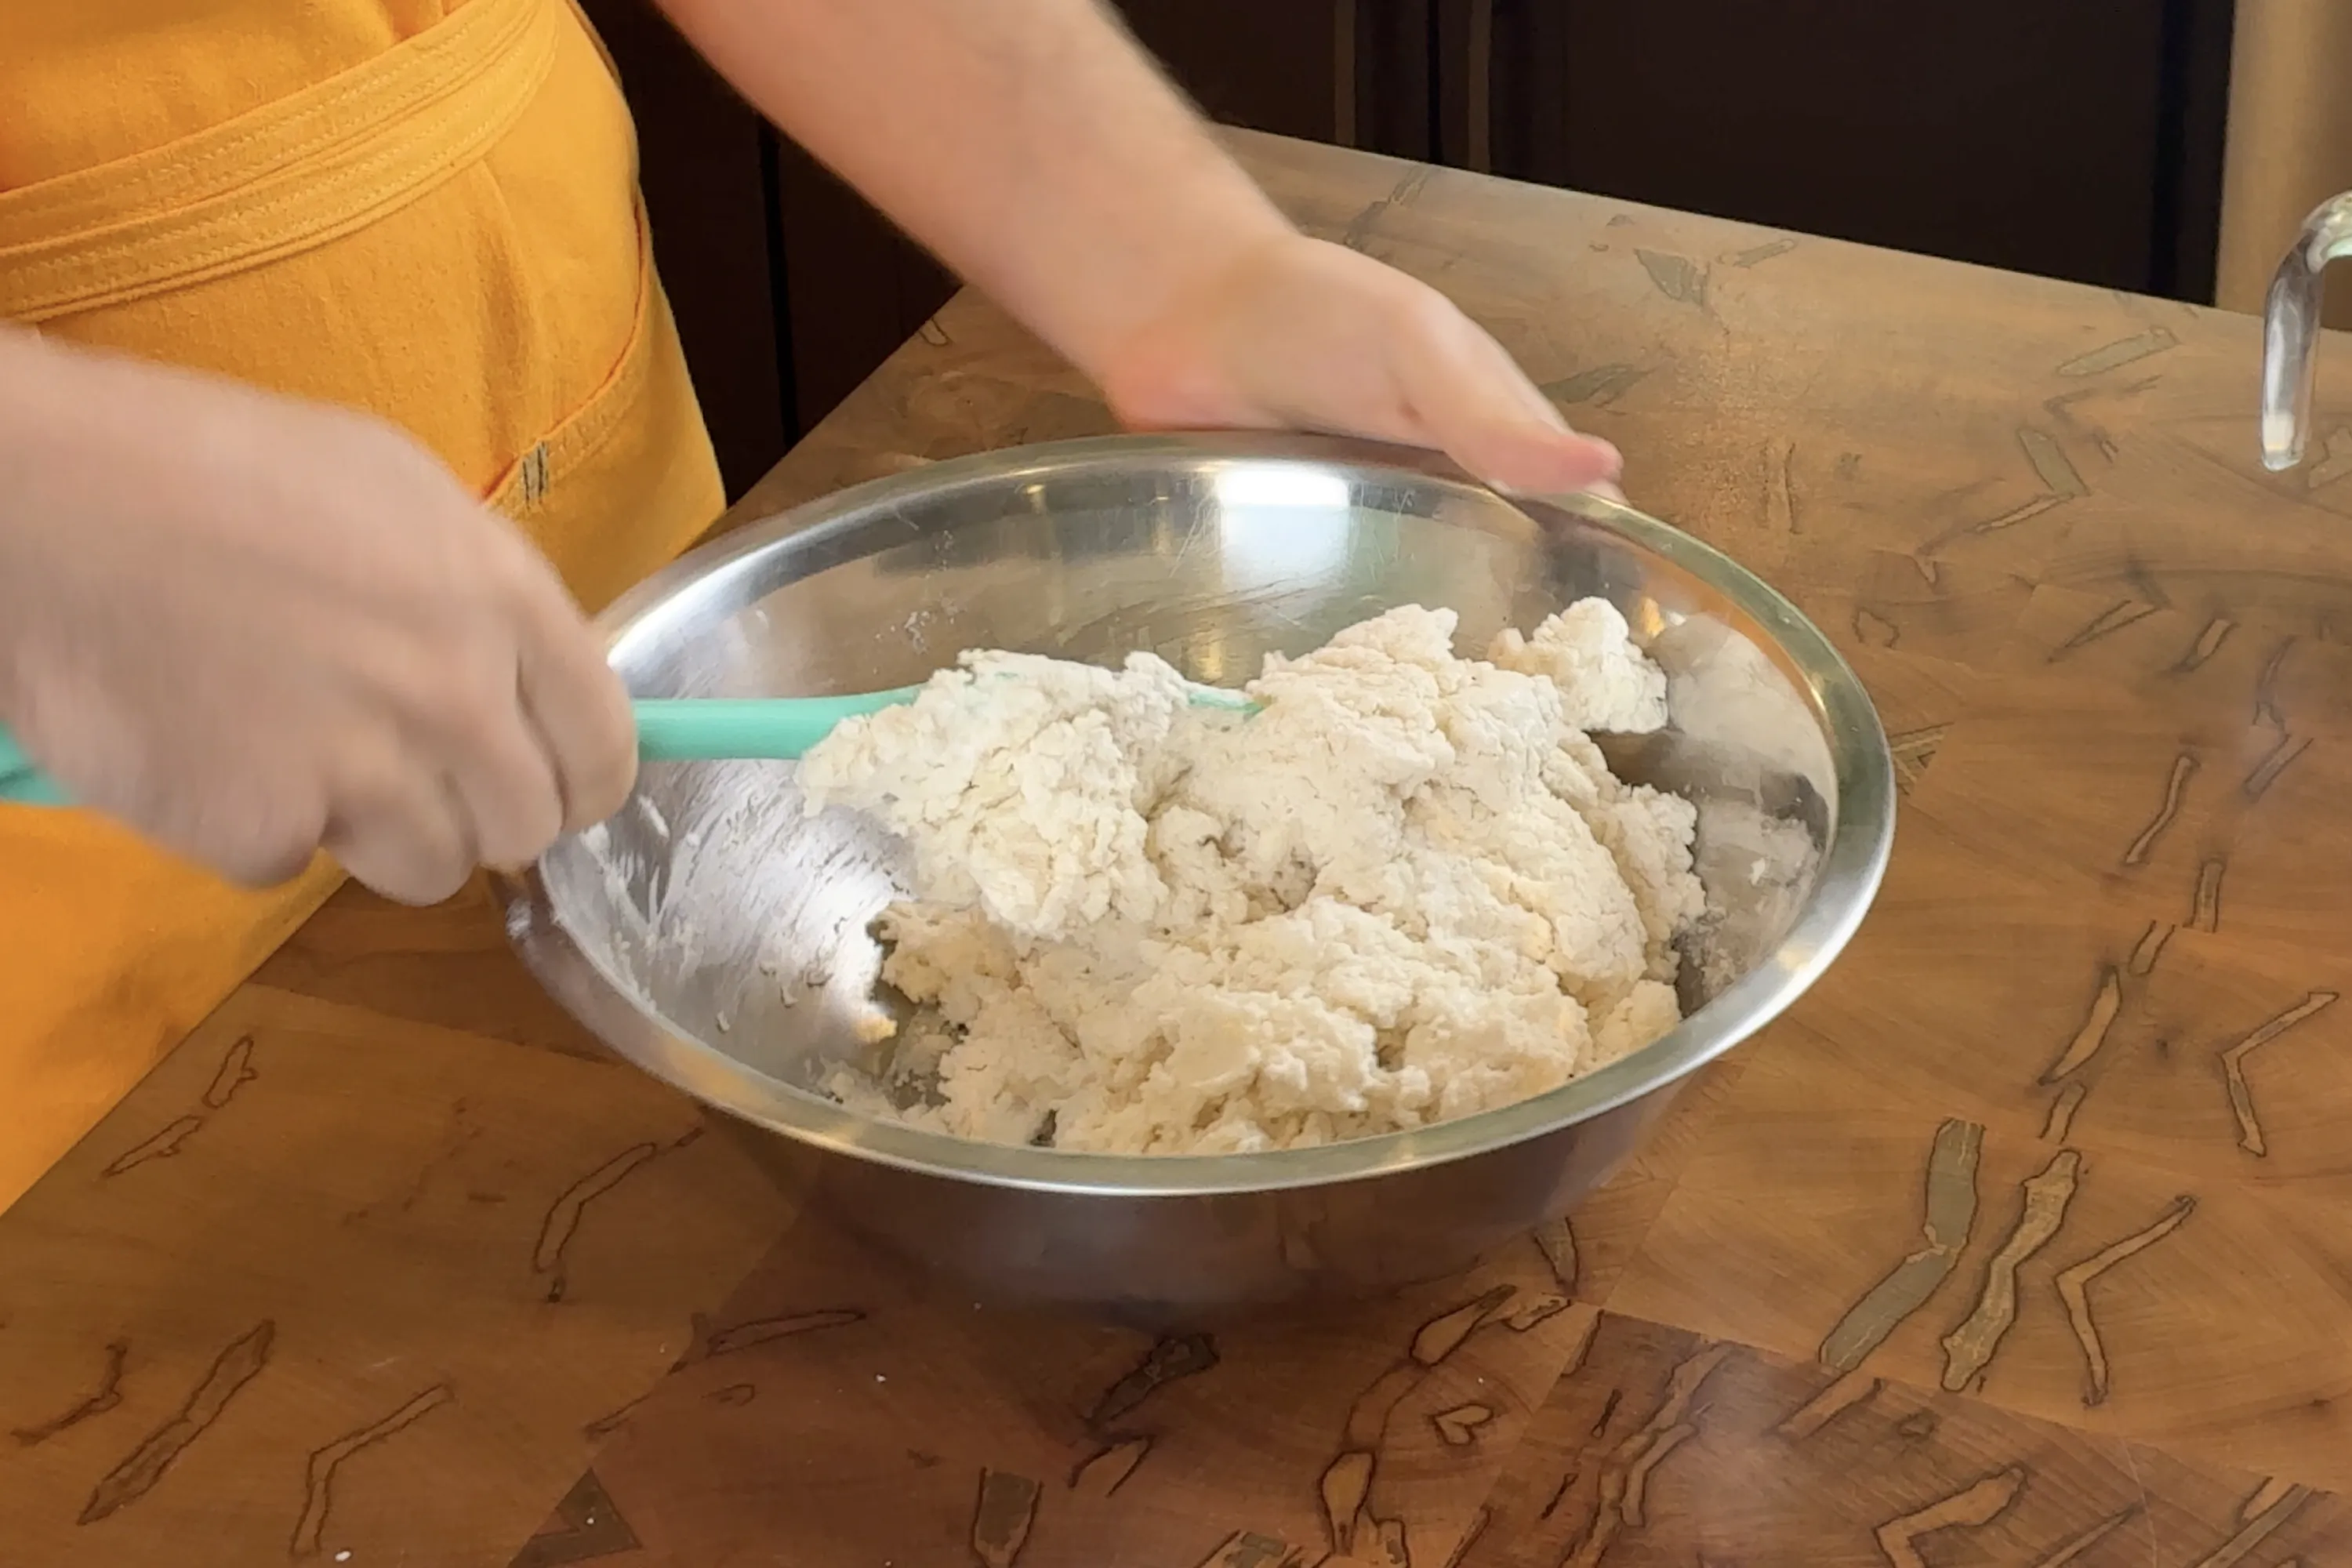
Add the cold mixture to the bowl of dry biscuit mix. Using a rubber spatula or bench scraper to scrape down the sides of the bowl and fold the mix back towards the center of the bowl. Continue working around the sides of the bowl until nearly all of the dry mix has been incorporated into a shaggy and slightly sticky dough.
Step Four
Preparing and shaping our dough
Turn the dough out onto a lightly floured surface. You can use more biscuit mix or another GF flour for this. Dust your hands and lightly dust the top of the dough. Use additional flour whenever the dough or the counter starts to feel sticky.
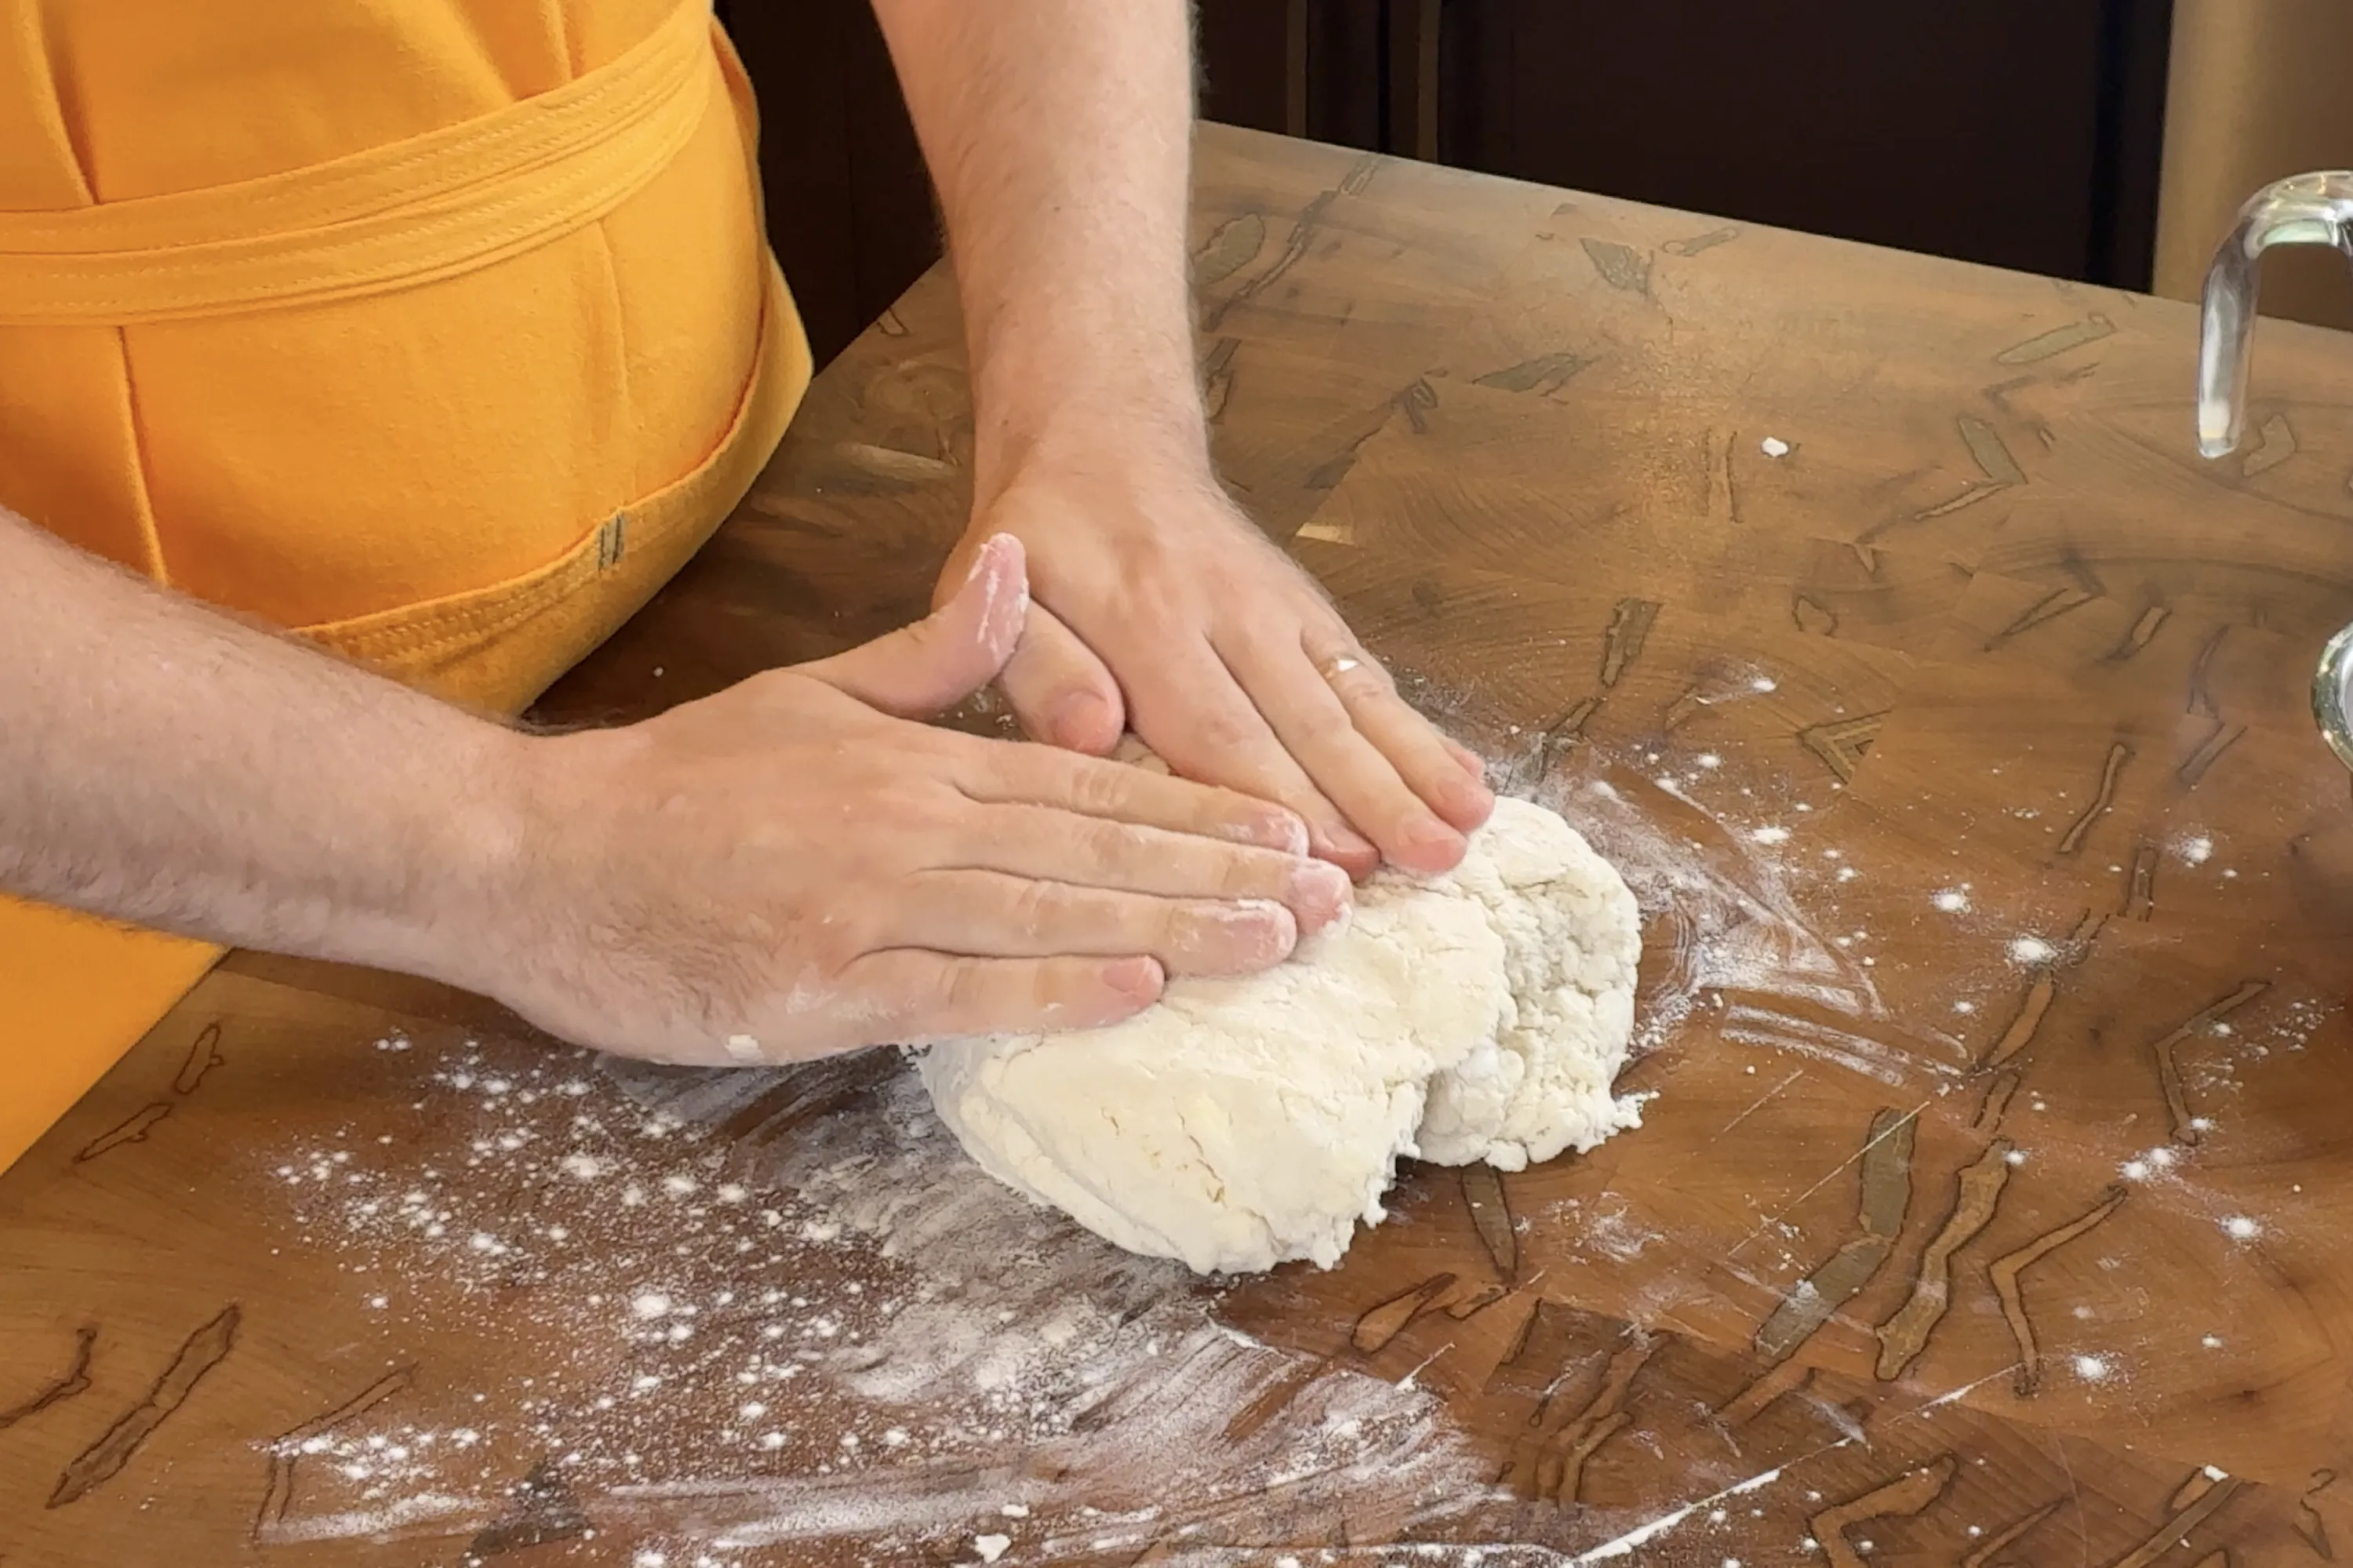
Using your hands, gently bring the dough together into a rough circle. Then press the dough down into the counter in an even layer approximately 2 inches (5cm) thick.
Using a bench scraper, fold the dough in half onto itself. Use your hands to press the dough out again to about 2 inches (5cm) thick. If there are dry/loose bits of dough falling off around the edges, place them on top of the dough and press them down.
Repeat this process of pressing the dough out with your hands, and folding in half. I generally do this 3-5 times in total until the dough comes together. You will know the has come together because the moisture in the dough will be more even, there won’t be any big dry spots in the dough or around the edges.
On your final round of pressing out the dough, we are aiming for a thickness of about 1 inch (2.5cm). Looking around the edges of the dough, use your hands to press closed any cracks you see and square up the sides.
Step Five
Cutting our biscuits
With the dough pressed out to about an inch (2.5cm) thick, it is time to cut out our biscuits. Use a well floured and sharp cutter. Re-flour the cutter between each biscuit to avoid too much sticking.
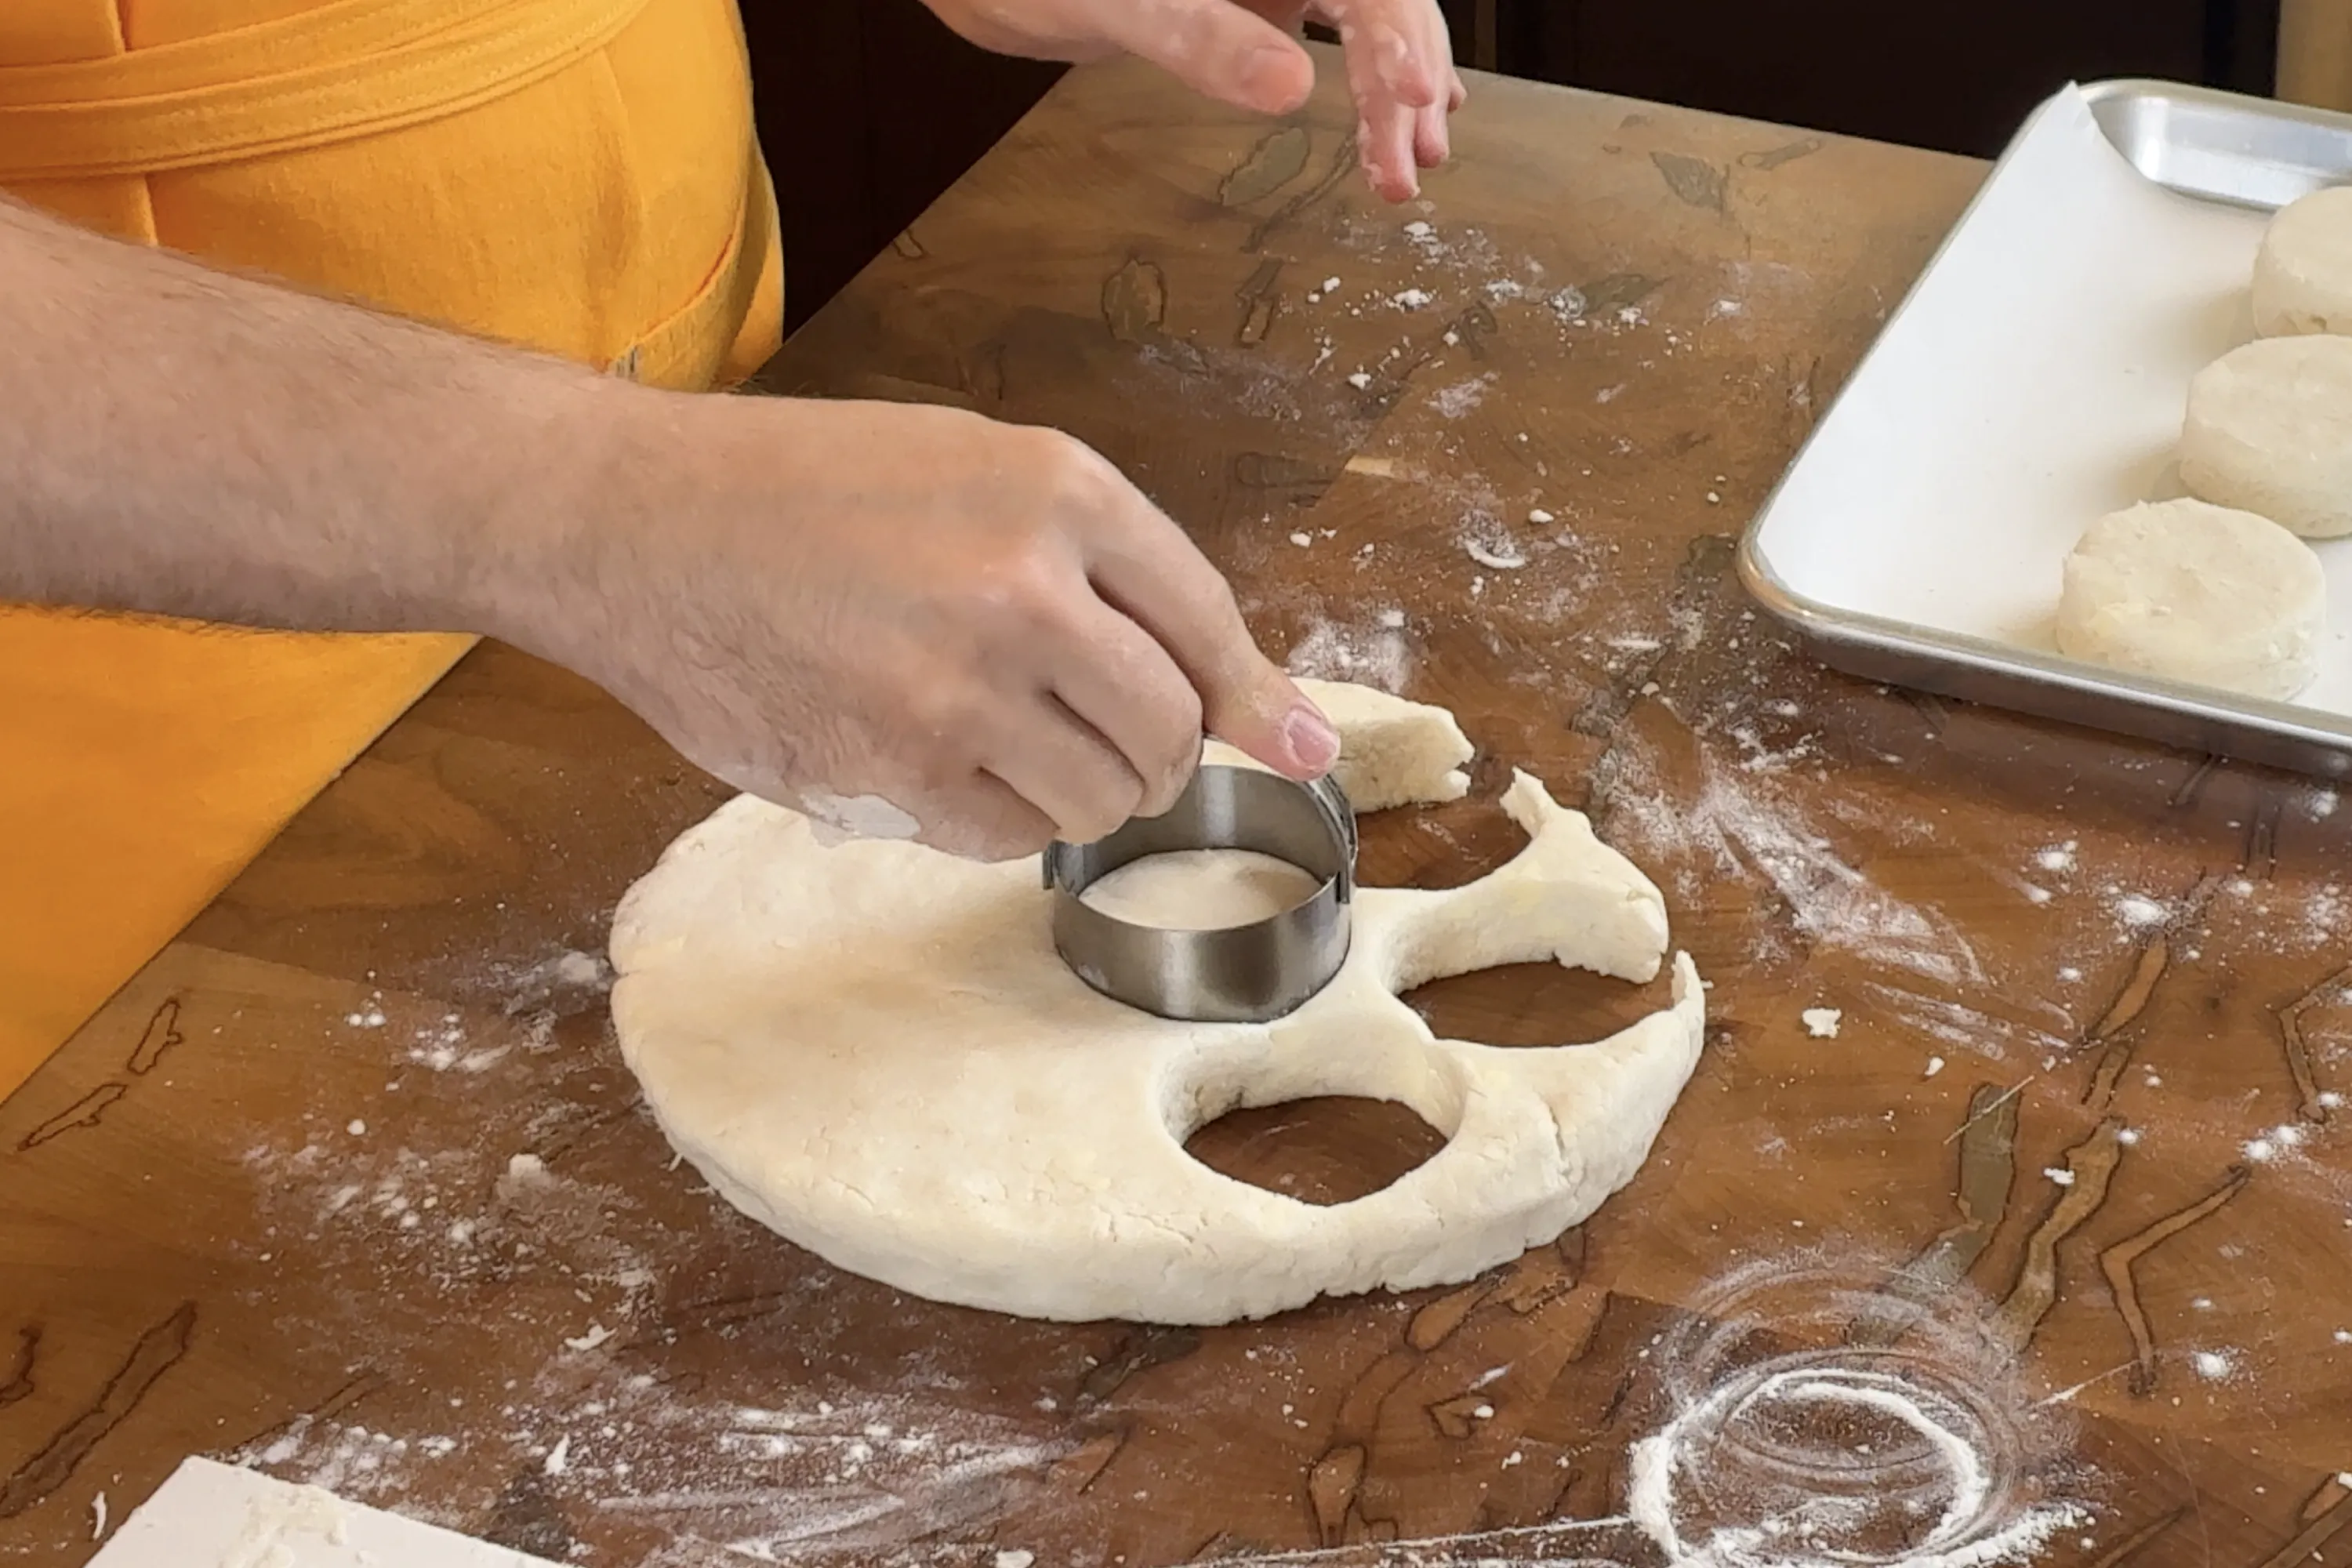
Place your biscuits on your parchment lined pan as you go. Space them about 1-2” (2.5-5cm) apart. If they are stuck to the counter, use an offset spatula or your bench scraper to get under them.
After the first round of biscuits are punched out, take the remaining dough scraps and press all of the slightly sticky cut-sides of the dough back together and into an even layer. Do another fold with your bench scraper and press the dough out to 1 inch (2.5cm) thick.
Continue reworking your scraps and cutting biscuits until you are out of dough.
Step Six
Bake, brush, and enjoy
Bake in the oven for 10-14 minutes on a middle rack. This timing will depend on how accurate the temperature of your oven is, and the size of your biscuits. You know they are done when they’ve gotten a good rise and they have a beautiful browned top.
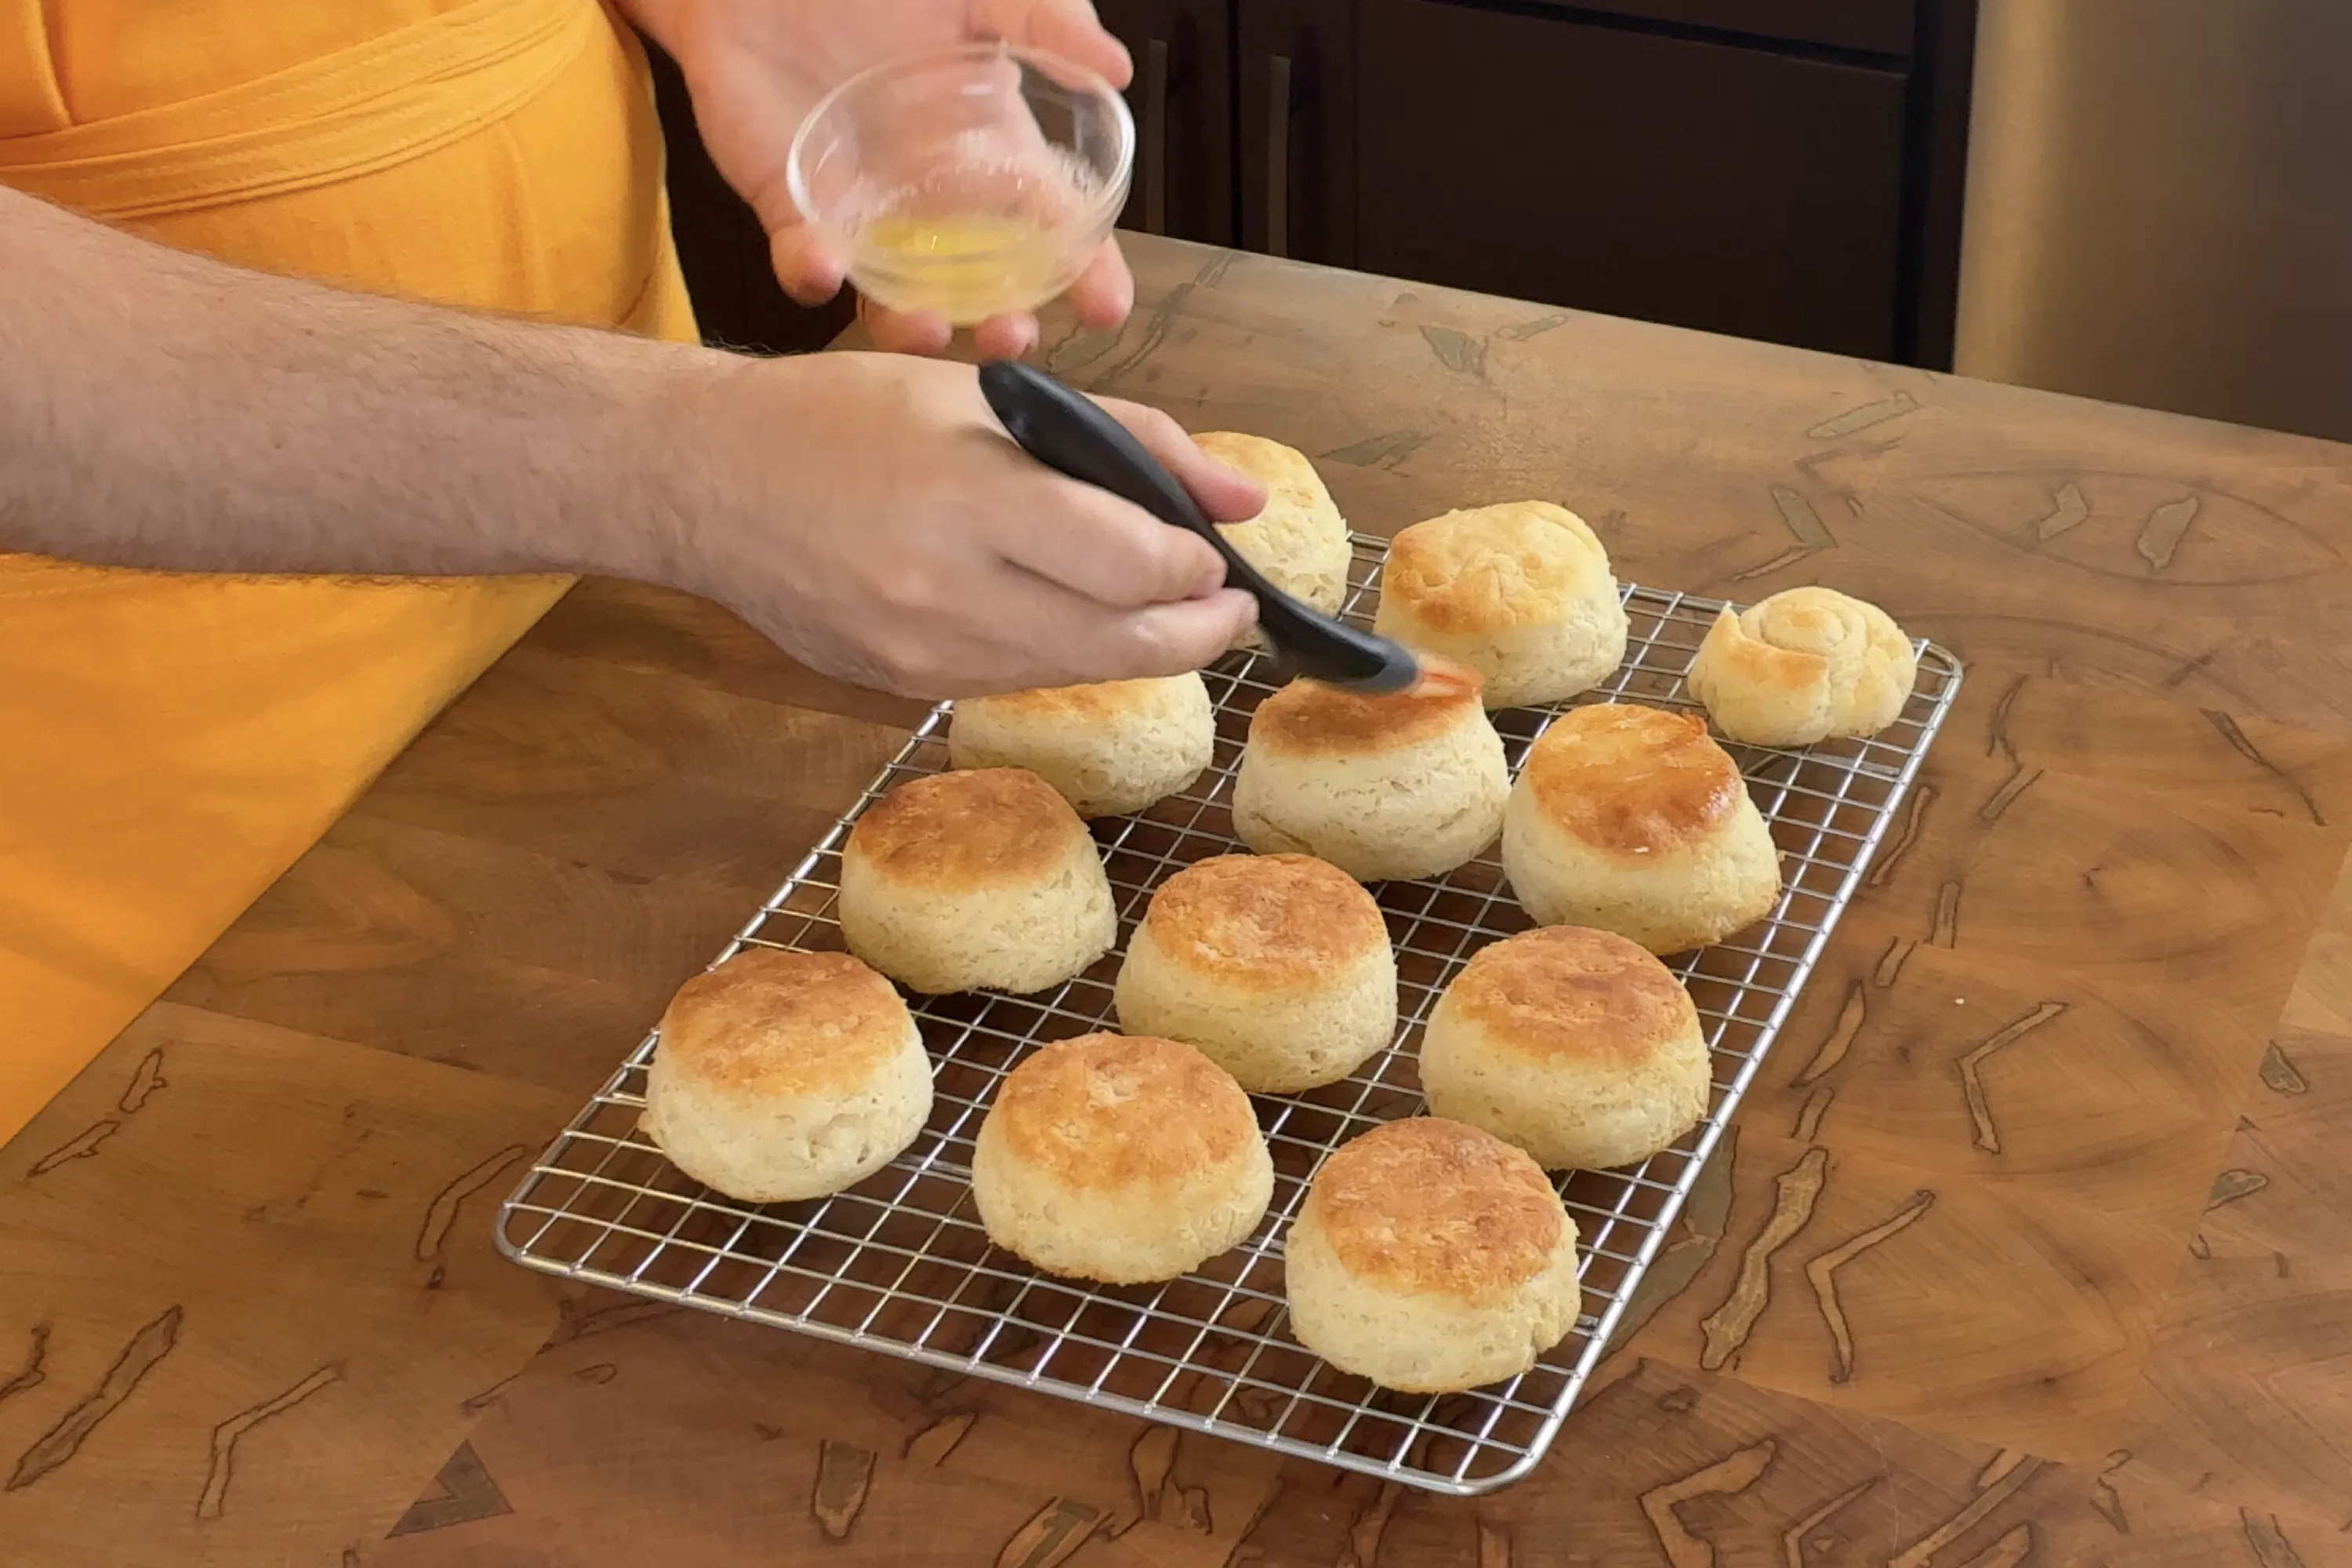
Once the biscuits are out of the oven I like to brush the tops with melted dairy-free butter, but this is optional.
Letting them cool for a few minutes will improve their structure. Enjoy them with jam, honey, DF butter, etc. Make a sausage & egg biscuit. Eat them split open and covered with sausage gravy. Or maybe hot honey fried chicken sandwiches! Whatever you end up doing, take some photos and come show off your work!
Did you test this recipe?
Share your thoughts and ideas to improve this recipe!
Visit the CommunityRelated recipes
See all
Gluten-Free + Ad Free
Why no ads?
Modern websites have become almost unusable with the amount of ads and pop-ups stuffed into them. This site has been designed to be a joy to use. Please join us as we try to find a better way.
Join the free community forums and live chat – Connect with other bakers, share experiences, ideas, and generally nerd out about GF baking.
Join UsShare the Recipe – Help this community grow by sharing this site far and wide!
Shop the Store – Check out recommended ingredients and products from the store, where we may earn a small comission.
See StoreLet’s Collaborate – Have your own restaurant or your own community? Maybe there is space for us to collaborate, get in touch!
Collaborate
Community
Recipe Feedback